

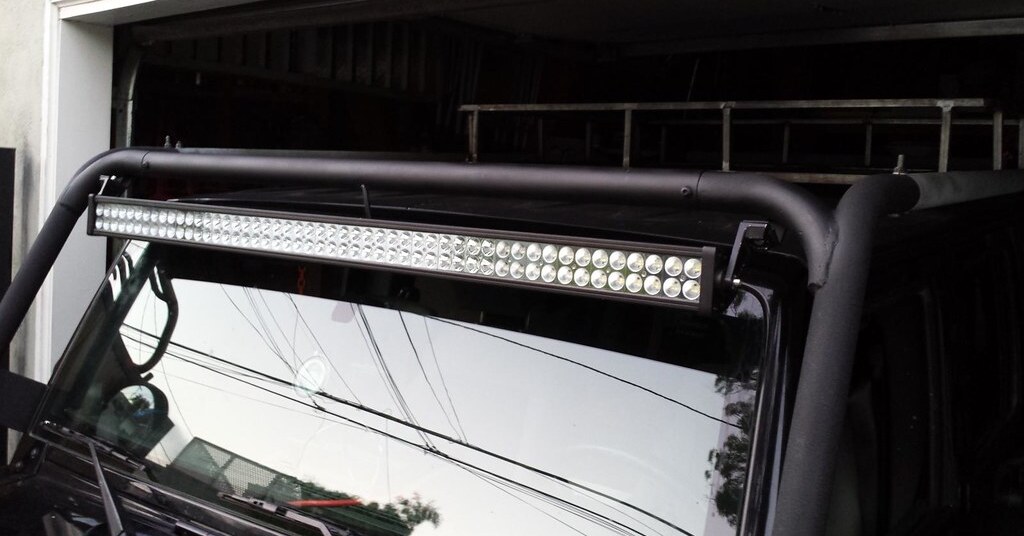
To make an LED light bar installation a breeze, follow these steps: mount the LED light bar, connect its wires to the relay switch, and install the mounting brackets. Next, connect the battery and butt connector. Finally, tighten the wires so that they are securely connected. The LED light bar is now ready for installation! To learn how to install an LED light bar, keep reading. This article will walk you through the process step by step.
Wiring an LED light bar
The process of wiring an LED light bar is actually quite simple. First of all, it is important to know some basic electrical terms. You'll need to know about the voltage, current, Ohm's law, and resistors. The more familiar you are with these terms, the simpler and more efficient the wiring will be. After that, you're all set to install your new LED light bar. If you're unsure of how to proceed, don't worry; follow the steps below and you'll be on your way!
Once you've gathered all of your equipment, you're ready to install your LED light bar. The first step is to connect the connectors to the LED light bar. Connect the red wire to the positive terminal and the black wire to the negative terminal. Once these connections are complete, adjust the angle of the light bar and tighten the mounting bolts. Once everything is in place, test your LED light bar. Make sure it turns on without any problems.
Mounting brackets
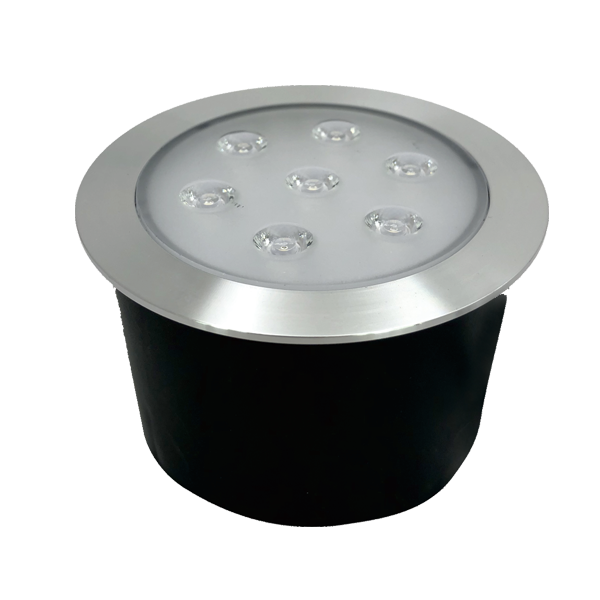
Mounting brackets for LED light bars will secure your LED modules, allowing you to install them on any surface on your vehicle. These brackets are available for both in-vehicle and exterior applications. LED Mounting Brackets will allow you to mount your illumination equipment to a vehicle's dashboard, bumpers, windshield pillars, roofs, and more. They are lightweight, durable, and rust-resistant.
The Front Runner LED Light Bar comes with a rugged front cover. It's made from 3CR12 Stainless Steel and Aluminium, and is sealed with weather-resistant black powder coating. It comes with all the mounting hardware you'll need, including a set of instructions. Be sure to leave at least 100mm of clearance on your vehicle's roof. Listed below are the most common mounting brackets for LED light bars.
Wiring harness
To properly install your LED light bar, you'll need a wiring harness. LED light bar kits usually come with the mounting brackets, wires, nuts and bolts, and a wiring harness. You can also build your own wiring harness, but make sure to buy one with an in-line fuse. Also, make sure to use black wire ties to secure the wires. This article will walk you through the process step-by-step.
A universal relay harness wiring set comes with an on/off switch and works with any LED product. You can use this wiring set to install your Ford F-150 LED light bar, too. This wiring harness also features an etched backlit switch and two LED lights. It's not difficult to install and allows for superior lighting during dark situations. Although this kit includes the necessary wiring, it's best to buy a separate harness if you plan to install more than one LED light.
90-degree angle
When installing a new LED light bar, you need to choose which mounting position will provide the best view of the installation area. The optimal angle depends on where you drill the holes. Depending on how far away they are, you may have to adjust the angles further. Thankfully, there are some tips for achieving the perfect 90-degree angle. One customer placed a 1/4-inch spacer between the mounting base and the rubber spacer to raise the light bar and angle it as desired.
Relay
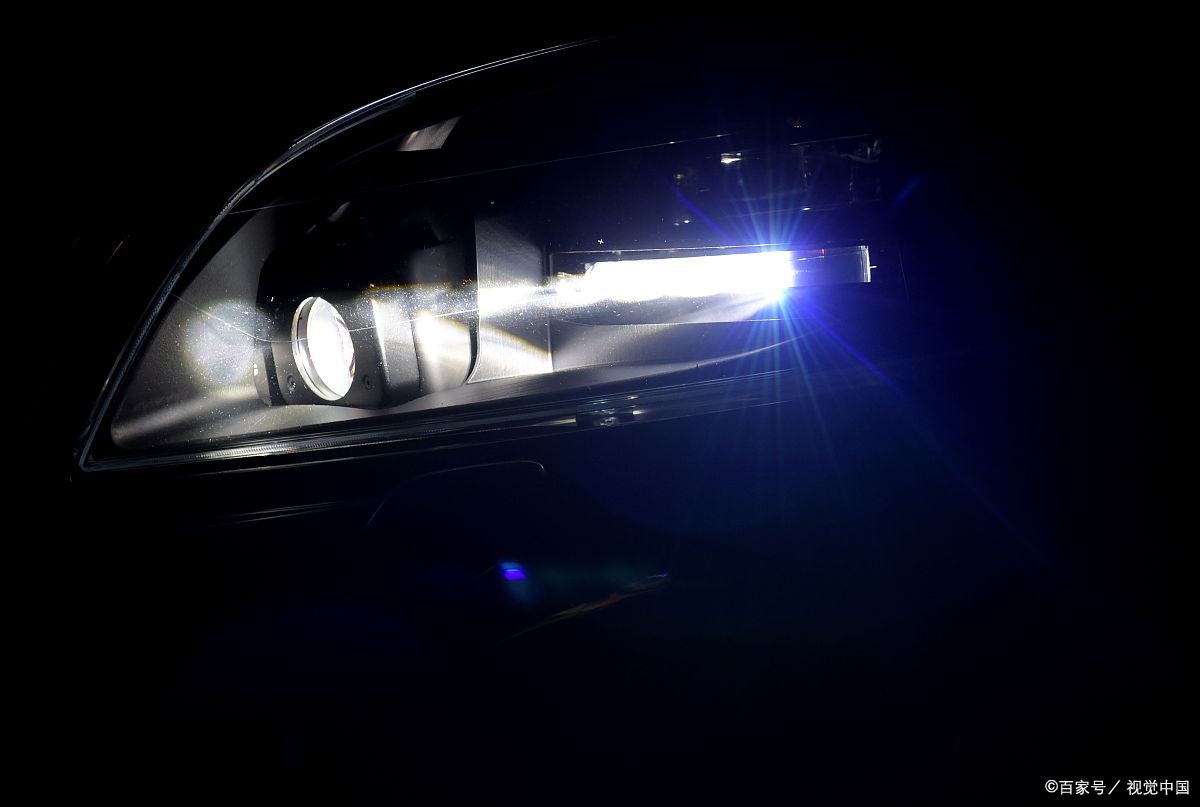
LED light bars are a great way to increase your visibility at night. The LEDs are connected to the terminal on your truck's battery, and they disperse an electrical charge to the light bar. The relay box should be installed close to the battery as possible, as an excess wire can get tangled with the main battery cables and cause an electrical short. To properly install a relay light bar, follow these simple steps.
Start by connecting the black and red wires on the LED light bar to the battery's positive and negative terminals. Attach the relay to a suitable location and check that it is functioning properly. If everything works fine, attach the LED light bar to its mounting brackets. Make sure to tighten the hardware to secure it in place. LED lights will save you money by eliminating the need for dimmer controls. If you are not familiar with this process, read this article to learn more.